

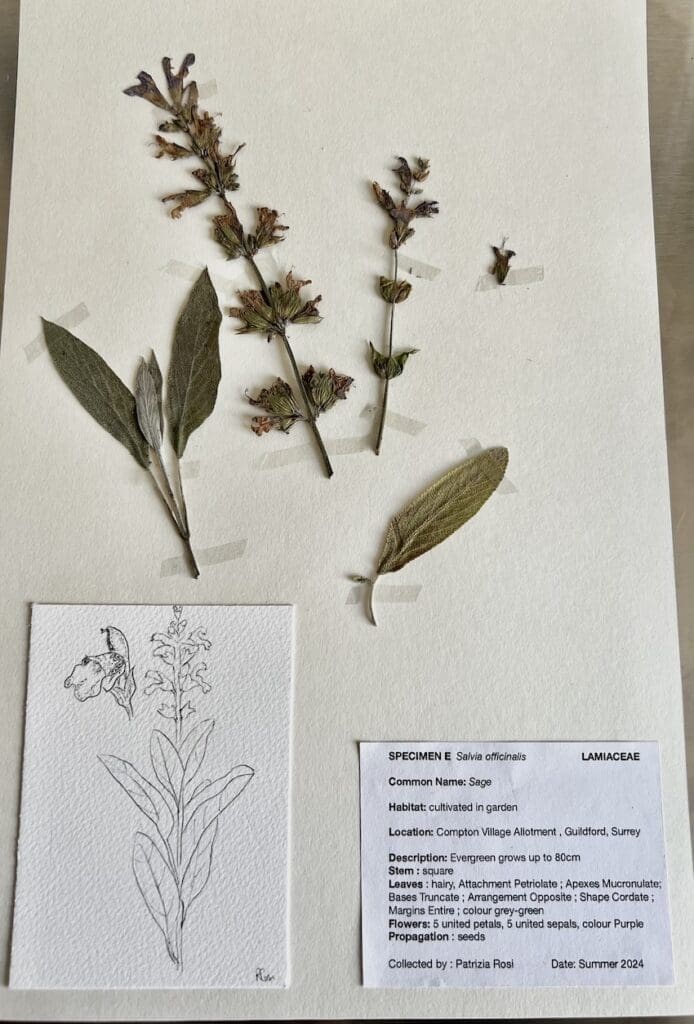
The Herbarium example images in this article were created by School of Natural Medicine graduate, Patrizia Rosi.
A herbarium is more than just a collection of dried plants; it is a botanical library. By preserving specimens with their structural characteristics intact, you create a permanent record that can be used for identification, medicinal research, and taxonomic study…and creative projects too!
The Purpose of a Herbarium
In a relatively small space, a herbarium stores a vast amount of data. It allows us to study variations within a species from across the globe, which is vital in the search for untapped botanical medicines. For the herbalist, it serves as a “gold standard” for identification—if you are ever in doubt about a plant in your formulae, a pressed specimen can be sent to a university or botanical garden for expert verification. The Herbarium at Kew Gardens is a phenomenal resource and is open to the public if you wish to visit and explore their vast archive (appointments required).
Following are details for creating and storing your own botanical specimen, with some creative project suggestions at the end. Enjoy!
Phase 1: In the Field (Collection)
Proper preservation begins the moment you find the plant.
- Tools: Bring several plastic bags, tie-on labels, and a field notebook.
- Method: Assign each specimen a letter (A, B, C). Label the bag and record the corresponding data in your notebook immediately.
- Why Bags? They keep specimens separate, contain soil from roots, and catch any delicate parts that might break off during transport.
What to Record (Field Notes)
The dried plant won’t tell the whole story. You must record details that fade after pressing:
Example Entry:
- Location: Full description, habitat type, nearby plants, proximity to water, and GPS coordinates (latitude/longitude/altitude).
- Specimen A: Geum urbanum (Wood Avens)
- Date: [Insert Date]
- Location: Bentleys Copse, Little Dean, Herts
- Habitat: Damp Beechwood
- Description: Flowers pale pink to white; no scent.
- Physical Traits: Scent, original flower color, and the presence of latex or sap.
Phase 2: The Pressing Process
Plants are most pliable when they first begin to wilt. This is the best time to “set” their final look.
- Layout: Lay the plant on absorbent paper (newsprint works excellently). Arrange it to reflect its natural growth habit, ensuring all diagnostic features (both sides of leaves, flowers, stems) are visible.
- The Sandwich: Cover with another layer of paper. You can stack multiple plants (“tiers”) by placing corrugated cardboard between them to allow airflow.
- The Press: Place the stack between two wooden boards and tighten with straps.
- Maintenance: Apply moderate pressure at first. Crucial: Change the absorbent paper daily and gradually increase the pressure. This prevents decomposition and preserves the flower color.
Phase 3: Mounting the Specimen
Once the plant is ‘bone dry,’ it is ready for its permanent home on heavy cartridge paper (Standard size is typically 15.5″ x 10″).
- Attachment: Avoid glue. It’s permanent and prevents future experts from removing a piece for microscopic study. Instead, use narrow, clear adhesive strips (archival linen tape is best) to secure the plant.
- Completeness: Try to include the root system and various life stages (buds, flowers, and seeds). Loose seeds can be placed in a small plastic packet attached to the sheet.
- The Label: Copy your field notes onto the bottom right-hand corner of the sheet in small, clear print.
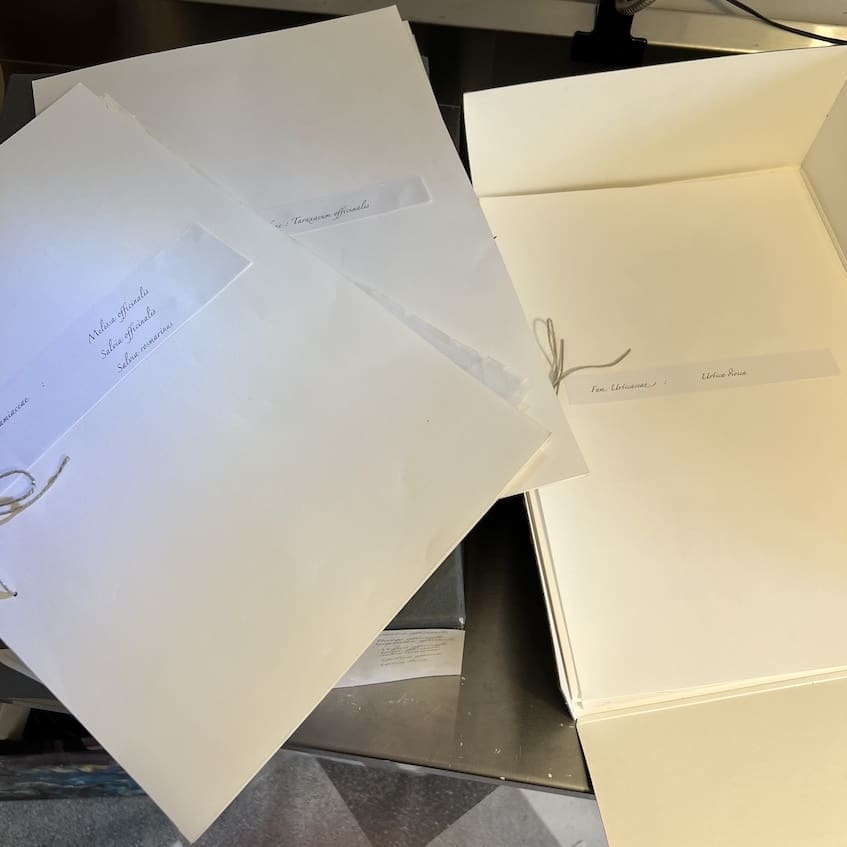
Phase 4: Storage & Curation
If protected from dampness and insects, a herbarium specimen is almost immortal.
- Organization: Store sheets in folders categorized by taxonomic rank (Family > Genus > Species).
- Environment: Keep in a dark, dry, insect-proof container or cabinet.
- Digital Backup: It is wise to catalogue your collection in a spreadsheet or database for quick searching.
Why This Matters: The Herbalist’s Perspective
Beyond documentation, herbaria are essential for biochemical taxonomy. Because plants in the same species often share similar genetic traits, they frequently contain the same “active principles” (alkaloids, terpenoids, etc.). This helps herbalists identify safe substitutions for formulas.
As habitats in the tropics and elsewhere are destroyed at an alarming rate, your herbarium serves as a vital record of biodiversity and a bridge to the medicinal wisdom of the natural world.
Supplies for an Archival Quality Herbarium
To build a professional grade herbarium, you will need archival-quality materials. Standard office supplies contain acids and lignins that will eventually turn your specimens brittle and yellow.
Here is a list of high-quality supplies used by major botanical institutions (like the NYBG or Kew Gardens). In the US, Gaylord Archival is an excellent source, and in the UK, Watkins and Doncaster is a great resource for presses, mounting paper and mounting paste, and other option are nhbs, CXD International for industry grade storage and Conservation Resources for additional specialist supplies.
1. The Mounting Foundation
- Herbarium Paper: Look for 100% Cotton Rag or Alpha Cellulose paper. It must be acid-free, lignin-free, and pH-neutral (7.0–8.5).
- Professional Standard Size: 11.5″ x 16.5″ or 29cm x 40.1cm (This is slightly larger than a standard 11×17 sheet).
- Weight: 12-point or 15-point caliper (heavyweight) to prevent sagging under the weight of the plant.
- Genus Folders: These are large, slightly oversized folders (usually 16 5/8″ x 12″ folded) made of buffered archival cardstock used to group multiple species sheets together.
2. Attachment & Mounting
- Adhesive Strips (Linen Tape): Professional herbaria prefer gummed linen tape or archival pressure-sensitive tape (such as Filmoplast P 90).
- Why: It allows the specimen to “breathe” and flex with the paper, and it is reversible with a tiny bit of moisture if a researcher needs to move the plant.
- Methyl Cellulose Glue: If you must use glue for small fragments, use archival Methyl Cellulose. Avoid “white school glue” or PVA glues unless they are specifically labeled as “neutral pH” and “archival,” as they can become permanent and acidic over time.
3. Documentation (Pens & Labels)
- Archival Ink Pens: Use pigment-based markers that are waterproof and lightfast.
- Top Pick: Sakura Pigma Micron (size 01 or 03). These use permanent Pigma ink that won’t fade under fluorescent herbarium lights or run if the sheet gets damp.
- Label Paper: Use a lighter-weight (20lb to 60lb) acid-free bond paper for your printed or handwritten labels, then affix them to the main sheet.
4. Storage & Protection
- Herbarium Boxes: Look for “Drop-Front” Herbarium Boxes.
- Specs: Made from 60-point buffered barrier board with metal-reinforced edges. The “drop-front” allows you to slide the sheets out horizontally without bending them.
- Polyester L-Sleeves: For very delicate or high-value specimens, use 3-mil or 4-mil Archival Polyester (Mylar) “L-Sleeves” (open on two adjacent sides). This protects the plant from physical touch while remaining fully visible.
- Fragment Packets: Small acid-free paper envelopes or “packets” that you glue to the mounting sheet to hold loose seeds, petals, or leaves that fall off.
5. Field & Pressing Gear
- Plant Press: A professional frame is usually 12″ x 18″ made of hardwood slats.
- Blotting Paper: High-absorbency, acid-free white blotting paper.
- Corrugated Ventilators: Cardboard inserts that allow air to flow through the press, speeding up the drying process and preserving color.

Botanical Preservation as Mindful Movement
Building a herbarium is a quiet, meditative act of connection. It is about slowing down enough to notice the serrated edge of a leaf or the tiny, silver hairs on a stem; the small details that we often walk right past.
Don’t feel pressured to be ‘perfect’ right away. Your first few specimens might be a little awkward and messy, or a flower might turn a shade of vintage brown that you didn’t expect. That is all part of the learning a new skill and every ‘mistake’ will teach you something new.
Beyond the scientific data, remember that these pressed treasures are inherently beautiful. If a specimen doesn’t quite meet museum standards, it isn’t a failure; it’s an opportunity.
Pressed plants can also be used for stunning creative projects, such as:
- Framed botanical wall art
- Handmade greeting cards and stationery
- Unique, transparent bookmarks
- Specimens arranged creatively and pressed between glass panels and hung in the window
- Decoupage for candles or journals
Whether you are building a rigorous scientific archive to aid your herbal formulae or simply creating a personal memory book of your favorite walks, the act of preserving a plant is a gift to your future self.
So, head outside with your field notebook and herbarium supplies, and see what the season has to offer. The woods, field, hedgerows and urban byways are waiting.
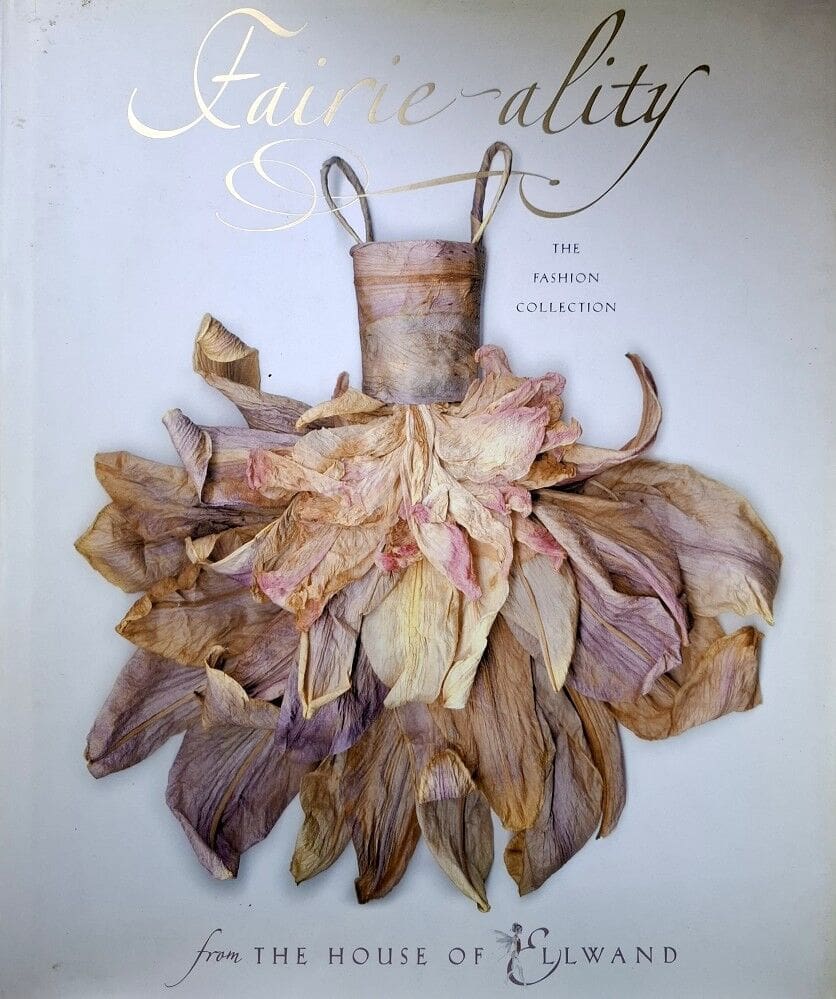
If looking for some inspiration for creative ways to use pressed flowers and leaves, have a peek at Fairie-ality: The Fashion Collection from the House of Ellwand and Fairie-ality Style: A Sourcebook of Inspirations from Nature Simply wonderful. Or for a more traditional take, The Pressed Flower Handbook provides excellent instruction and creative ideas for working with pressed flowers.
Happy pressing!

